
The shift to remote and hybrid work is permanent. Whether you work from home full-time or just need a dedicated space for side projects, having a functional home office is no longer optional. But you do not need to spend thousands of dollars to create a workspace that actually works.
Key Takeaways
- Step 1: Choose Your Space
- Step 2: Get the Right Desk ($50-$150)
- Step 3: Invest in Your Chair ($100-$200)
- Step 4: Set Up Proper Lighting ($20-$60)
This guide walks you through building a complete home office for under $500. Every recommendation is practical, tested, and focused on the things that genuinely affect your productivity and comfort. Skip the Pinterest-perfect setups and focus on what matters: a good chair, adequate lighting, and a desk arrangement that does not wreck your back. For more on this, see Best Low-Maintenance Plants for Home and Garden.
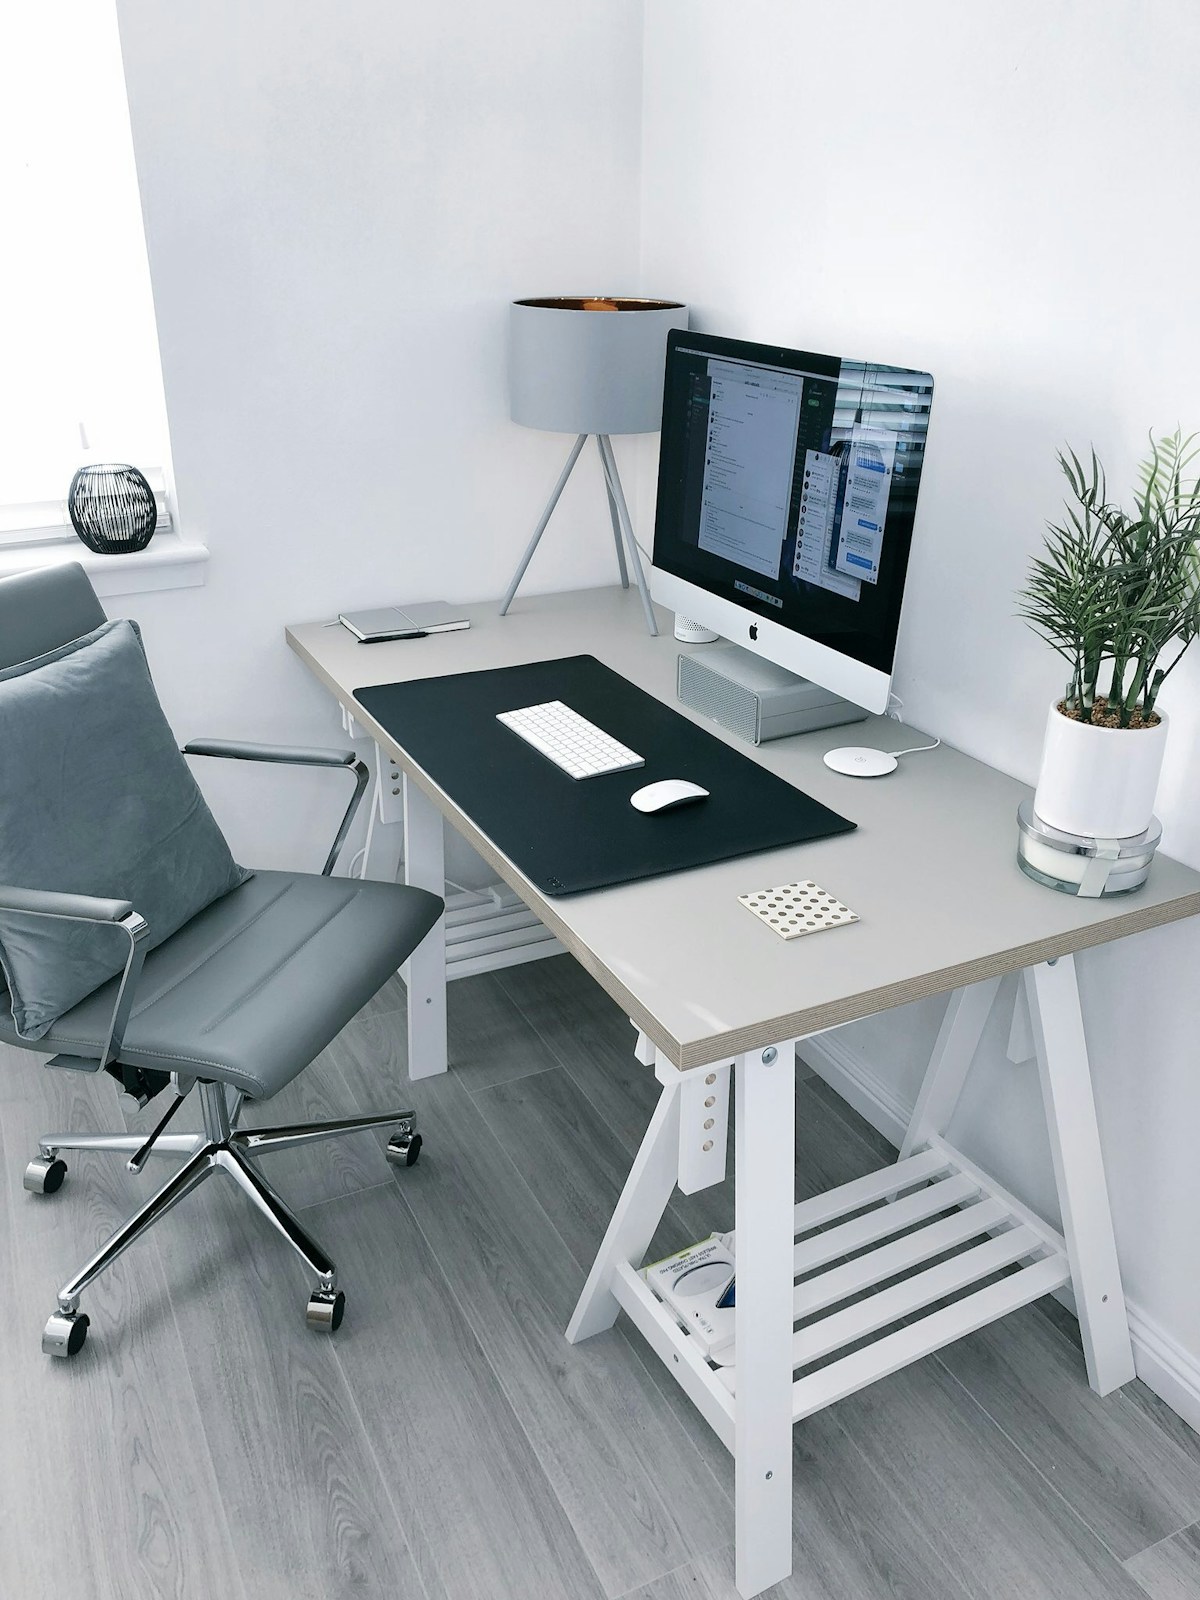
Step 1: Choose Your Space
Before buying anything, figure out where your office will live. You do not need a spare room. A corner of your bedroom, a section of the living room, or even a wide closet can work. The key requirements are:
- Enough space for a desk and chair — A minimum of 4 feet by 3 feet of floor space
- Access to power outlets — At least two outlets within reach without extension cords stretching across walking paths
- Reasonable quiet — Away from the TV, kitchen, and high-traffic areas if possible
- Natural light — Position your desk near a window if you can, but perpendicular to it to avoid glare on your screen
If you share your home with family or r For more on this, see Easy Home Improvement Ideas That Add Real Value.oommates, communicate boundaries. Even a simple visual cue like a closed door or a desk lamp being on can signal that you are in work mode.
Step 2: Get the Right Desk ($50-$150)
Your desk does not need to be expensive or beautiful. It needs to be the right height (28-30 inches for most people), deep enough for a monitor and keyboard (at least 24 inches deep), and sturdy enough to hold your equipment without wobbling.

Budget Desk Options
- IKEA LAGKAPTEN/ADILS — A tabletop-and-legs combo that starts around $45. Simple, functional, and available in multiple sizes.
- Amazon Basics desk — Solid options in the $60-$100 range with built-in cable management
- Facebook Marketplace or Craigslist — Used office desks from companies that downsized. You can often find $500 desks selling for $50-$100
- Door on sawhorses — A solid-core door from a home improvement store on adjustable sawhorses makes an enormous, sturdy desk for under $80
Practical tip: Avoid glass desks. They show fingerprints, create glare, and wobble more than wood or laminate. Also skip L-shaped desks unless you truly need the extra surface — they consume a lot of floor space.
Step 3: Invest in Your Chair ($100-$200)
This is where you should spend the largest share of your budget. A bad chair will cause back pain, neck strain, and reduced focus within weeks. You do not need a $1,000 Herman Miller, but you do need something with proper lumbar support and adjustable height.
What to Look For
- Adjustable seat height — Your feet should sit flat on the floor with thighs parallel to the ground
- Lumbar support — Either built into the backrest or available as an adjustable attachment
- Armrests — Ideally adjustable, so your forearms rest at a 90-degree angle while typing
- Breathable material — Mesh backs prevent overheating during long work sessions
Budget Chair Picks
- HON Ignition 2.0 — Around $180, widely considered the best office chair under $200
- Hbada Ergonomic Office Chair — Around $130 on Amazon with flip-up armrests
- Used Steelcase or Herman Miller — Check office liquidation sales. Used Steelcase Leap chairs sell for $150-$250 and last decades
Step 4: Set Up Proper Lighting ($20-$60)
Bad lighting causes eye strain, headaches, and fatigue faster than almost anything else. Good lighting is cheap and makes an immediate difference.
Lighting Rules
- Use natural light as your primary source — Position your desk so the window is to your side, not behind your screen or directly in your face
- Add a desk lamp for task lighting — An adjustable LED desk lamp with color temperature control costs $25-$40 and is essential for evening work
- Avoid overhead fluorescent lighting — It creates harsh shadows and eye strain. If your room has overhead lights, use a warm-toned bulb and supplement with your desk lamp
- Consider a monitor light bar — These clip onto your monitor and illuminate your desk without creating screen glare. The BenQ ScreenBar is popular at around $60, but budget alternatives exist for $20-$30
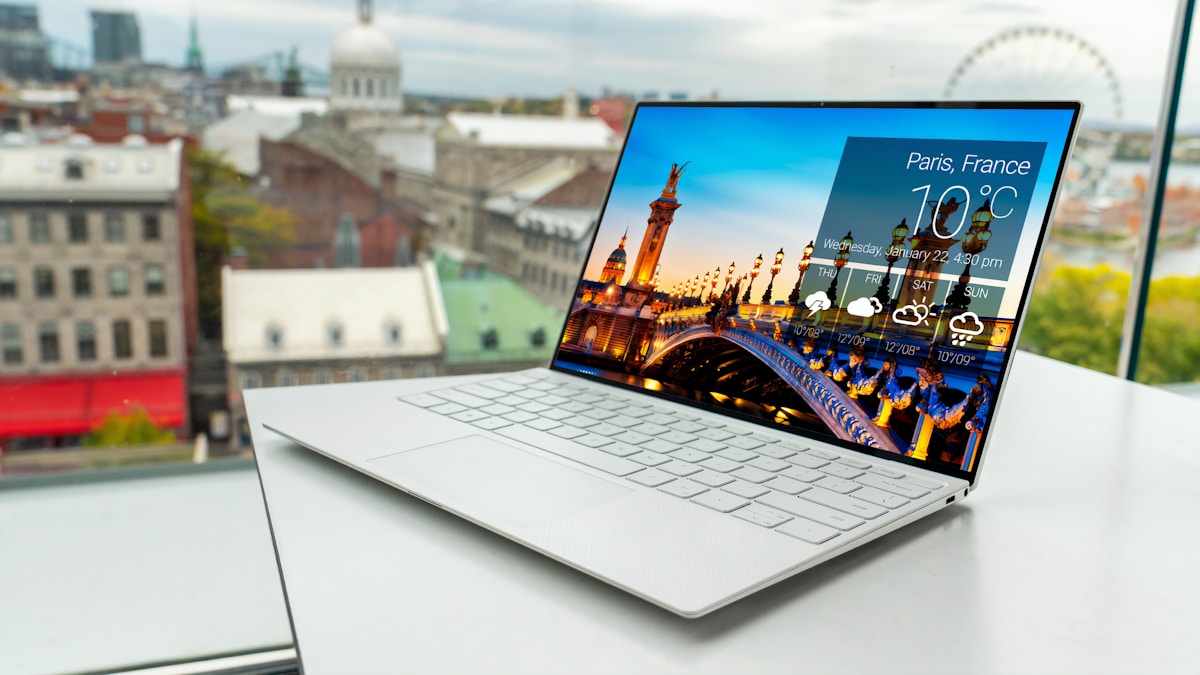
Step 5: Essential Tech Setup ($100-$150)
Assuming you already have a laptop, the following accessories will significantly improve your productivity and ergonomics: For more on this, see Best Standing Desks for Home Offices in 2026.
- External keyboard and mouse ($30-$50) — Allows you to position your laptop at eye level on a stand while typing comfortably at desk level
- Laptop stand or monitor riser ($15-$30) — Your screen should be at eye level to prevent neck strain. A stack of books works too
- USB hub ($15-$25) — If your laptop has limited ports, a simple USB hub prevents constant cable swapping
- Surge protector ($15-$20) — Protect your equipment from power spikes. Get one with at least six outlets and USB charging ports
- Headphones with microphone ($25-$50) — Essential for video calls. You do not need noise-canceling headphones; a simple headset with a decent mic beats your laptop speakers and microphone every time
Step 6: Cable Management ($10-$20)
Tangled cables look messy and can actually interfere with your work. Basic cable management takes 20 minutes and costs almost nothing.
- Velcro cable ties — Bundle cables together and route them along the back of your desk
- Cable clips — Adhesive clips attach to the underside of your desk to keep cables organized and off the floor
- Cable tray or raceway — Mount under your desk to hide power strips and excess cable length
Step 7: Organization and Storage ($20-$50)
A cluttered desk leads to a cluttered mind. You do not need elaborate storage systems. A few intentional additions keep your workspace functional:
- Small desktop shelf or monitor riser with storage — Keeps frequently used items within reach without cluttering your main work surface
- Desk drawer organizer — If your desk has drawers, a simple divider tray prevents junk-drawer chaos
- Wall-mounted shelf or pegboard — Move storage vertical if your desk space is limited
- Filing system — Even a single desktop file sorter keeps papers organized if your work involves physical documents
Budget Breakdown
| Item | Budget Range | Priority |
|---|---|---|
| Desk | $50 - $150 | High |
| Chair | $100 - $200 | Critical |
| Lighting | $20 - $60 | High |
| Tech accessories | $100 - $150 | High |
| Cable management | $10 - $20 | Medium |
| Organization | $20 - $50 | Medium |
| Total | $300 - $630 | — |
Common Mistakes to Avoid
- Buying a standing desk converter too early — Try a regular desk first. Many people buy standing desk converters and stop using them within a month
- Ignoring ergonomics — A beautiful desk means nothing if your monitor is too low and your chair lacks lumbar support
- Over-decorating before optimizing — Get the functional setup right before adding plants, art, and accessories
- Skimping on the chair — This is the one item where spending more pays off immediately in comfort and health
- Forgetting about sound — If your space is noisy, budget for headphones or a white noise machine before buying decorative items
Final Thoughts
A productive home office does not require a dedicated room or a four-figure budget. It requires thoughtful choices about the things that directly affect your work: seating comfort, screen positioning, lighting quality, and minimal clutter. Start with the chair and desk, add proper lighting and basic tech, and refine from there. You can always upgrade individual components later as your budget allows.
The best home office is one you actually use. Keep it simple, keep it functional, and keep it comfortable.
Related Articles on BlogVerdict
- Best Standing Desks for Home Offices in 2026 (Home & Garden)
- Easy Home Improvement Ideas That Add Real Value (Home & Garden)
- Best Low-Maintenance Plants for Home and Garden (Home & Garden)
Related Reading on BlogVerdict
Explore more on this topic:
- African Union Summit Focuses on Continental Free Trade Progress
- Best Standing Desks for Home Offices in 2026
- Best Low-Maintenance Plants for Home and Garden
- Easy Home Improvement Ideas That Add Real Value
- 5G Changed Everything: The Real Impact Three Years Later
- African Wildlife Conservation Efforts Show Promising Results
- ASEAN Nations Strengthen Regional Cooperation Agreement
Frequently Asked Questions
How long does it take to see results?
Results vary depending For more on this, see 5G Changed Everything: The Real Impact Three Years Later. on individual circumstances and consistency. Most people see meaningful progress within 2-4 weeks of dedicated effort, with more significant changes appearing over 2-3 months. For more on this, see African Union Summit Focuses on Continental Free Trade Progress.
Do I need prior experience to get started?
No prior experience is necessary. This guide is designed for beginners and experienced practitioners alike. Start with the fundamentals and build your skills progressively.


