
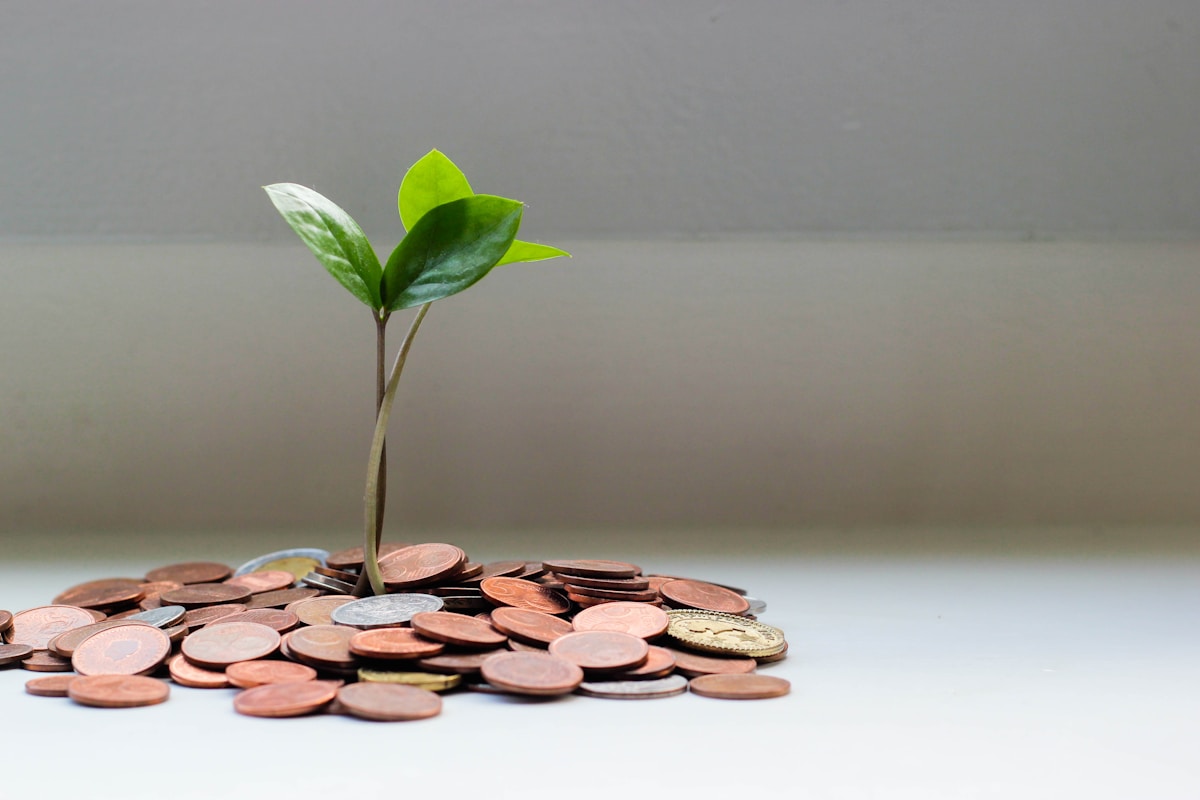
An emergency fund is the single most important piece of your financial foundation. It is the buffer between you and financial disaster when life throws unexpected curveballs — a job loss, medical bill, car repair, or broken appliance. Without one, a single unexpected expense can spiral into credit card debt, missed payments, and months of financial stress.
Key Takeaways
- Step 1: Set Your Target Amount
- Step 2: Open a Dedicated Savings Account
- Step 3: Start With a Starter Fund of $1,000
- Step 4: Automate Your Savings
Yet building an emergency fund can feel impossibly slow when you are living paycheck to paycheck. This guide provides actionable, proven strategies to build your emergency fund faster than you thought possible, regardless of your current income level.
Step 1: Set Your Target Amount
Before saving a single dollar, determine exactly how much you need. The standard advice is three to six months of essential expenses, but the right amount depends on your situation:
- Single income, no dependents: 3 months of expenses ($5,000-$10,000 for most people)
- Dual income household: 3 months of expenses (lower risk of total income loss)
- Single income with dependents: 6 months of expenses
- Self-employed or freelancer: 6-9 months of expenses (income is less predictable)
- Job in volatile industry: 6 months of expenses
Calculate Your Essential Monthly Expenses
Add up only what you must pay to survive: rent or mortgage, utilities, food, transportation, insurance, minimum debt payments, and essential medications. Do not include discretionary spending like dining out, entertainment, or subscriptions. For most people, essential expenses are 60-70% of their total monthly spending. For more on this, see 5 Habits That Separate Great Developers from Good Ones.
Step 2: Open a Dedicated Savings Account
Your emergency fund should live in a separate, dedicated account — not your regular checking or savings account. This physical separation creates a psychological barrier against dipping into it for non-emergencies.
Best Account Types for Emergency Funds
- High-yield savings account (HYSA) — Earns 4-5% APY in 2026, funds accessible within 1-2 business days. This is the best option for most people.
- Money market account — Similar yields to HYSAs, sometimes with check-writing privileges for faster access.
- No-penalty CD — Slightly higher rates but with more restrictions. Good for the portion you are unlikely to need immediately.
Avoid keeping your emergency fund in investments like stocks or crypto. The whole point is that the money is there when you need it, without risk of being down 30% at the exact moment an emergency strikes.
Step 3: Start With a Starter Fund of $1,000
If the full target feels overwhelming, start with a mini goal of $1,000. This amount covers the most common emergencies — a car repair, an appliance replacement, or an urgent medical copay. Having even this small buffer dramatically reduces financial stress and prevents many trips to high-interest debt.
Set an aggressive timeline of 30-60 days to reach this first milestone. This is your sprint phase — temporary intensity to build momentum.
Step 4: Automate Your Savings
Set up an automatic transfer from your checking account to your emergency fund For more on this, see Best Credit Cards for Beginners: Top 10 Picks for 2026.on every payday. Treat it like a bill that must be paid. When the transfer is automatic, you remove the temptation and friction of manually moving money.
For more on this, see Best Side Hustles You Can Start From Home in 2026.Start with whatever you can manage — even $25 per paycheck. The key is consistency. You can increase the amount as you implement the strategies below.
Step 5: C For more on this, see Best Personal Finance Habits for Long-Term Wealth.ut Expenses Strategically
Temporary expense cuts can dramatically accelerate your savings rate. Focus on the categories with the biggest impact:
High-Impact Cuts
- Subscription audit: Cancel subscriptions you rarely use. The average American spends $219/month on subscriptions, often with several they have forgotten about.
- Dining out reduction: Cutting restaurant meals from four times weekly to once saves $300-500/month for many families.
- Insurance shopping: Get quotes from three competitors for auto and home insurance. Switching saves an average of $200-400 annually.
- Cell phone plan: Switch to an MVNO carrier like Mint Mobile or Visible for comparable service at half the price.
- Negotiate recurring bills: Call your internet, cable, and insurance providers to negotiate lower rates. Many will offer retention discounts of 10-30%.
Step 6: Boost Your Income Temporarily
The fastest way to build an emergency fund is to increase the amount of money flowing in, even temporarily:
- Sell unused items: Most households have $500-2,000 in sellable items they no longer use. List electronics, furniture, clothing, and equipment on marketplace apps.
- Freelance your skills: Even 5-10 hours per week of freelance work in your professional skill area can generate $500-2,000/month in extra income.
- Gig economy work: Delivery driving, tutoring, pet sitting, or task-based work through apps provides flexible income you can direct entirely to savings.
- Overtime or extra shifts: If your employer offers overtime, take it during your savings sprint period.
- Cash back and rewards: Use cash-back apps and credit card rewards for everyday purchases, then redirect the earned rewards to your emergency fund.
Step 7: Redirect Windfalls
Commit in advance to directing unexpected money to your emergency fund until it is fully funded. This includes tax refunds, work bonuses, birthday money, rebates, and any income above your regular paycheck. The average American tax refund is approximately $3,000 — that alone could fund a significant portion of your emergency reserve.
Step 8: Track Your Progress Visually
Seeing progress keeps you motivated. Use a simple visual tracker — a chart on your fridge, a spreadsheet, or a savings app — that shows how close you are to your goal. Many people find that coloring in a thermometer-style tracker or watching a progress bar fill up provides the psychological reinforcement needed to maintain discipline.
Step 9: Protect Your Fund With Rules
Define clearly what constitutes a genuine emergency before you need one. Emergencies include:
- Job loss or significant income reduction
- Medical or dental emergencies
- Critical home or car repairs
- Emergency travel for family situations
Non-emergencies include vacations, electronics upgrades, holiday shopping, or expected annual expenses like insurance premiums. Set up separate savings for planned expenses so your emergency fund stays intact.
Step 10: Replenish After Use
When you do use your emergency fund — and you will eventually — immediately begin replenishing it. Return to your sprint mode savings strategies until the fund is restored. The speed at which you can replenish your fund is one of the best indicators of your overall financial health.
Realistic Timeline Examples
Here is how quickly you can build a $6,000 emergency fund at different savings rates:
- $200/month: 30 months (2.5 years)
- $400/month: 15 months
- $600/month: 10 months
- $1,000/month: 6 months
- $500/month + $3,000 tax refund: 6 months
The Bottom Line
Building an emergency fund is not glamorous, but it is the financial move that provides the most peace of mind. Start with a $1,000 sprint, automate your savings, cut expenses temporarily, boost income where possible, and redirect windfalls. Within 6-12 months, most people can build a fully funded emergency reserve that protects them from financial disasters. The time to start is today.
Related Articles on BlogVerdict
- How to Start Investing for Beginners: Complete Guide (Finance)
- How to Build a Passive Income Portfolio in 2026: A Practical Guide (Business)
- How to Build a Passive Income Portfolio in 2026 (Business)
- Building Wealth in Your 20s and 30s: A No-Nonsense Financial Guide (Business)
- The Complete Guide to Remote Work Productivity in 2026 (Business)
Risk and Return Overview
| Strategy | Risk Level | Time Horizon | Best For |
|---|---|---|---|
| Conservative | Low | Long-term | Capital preservation |
| Balanced | Medium | Medium-term | Steady growth |
| Aggressive | High | Short-term | High returns |
Related Reading on BlogVerdict
Explore more on this topic:
- ASEAN Nations Strengthen Regional Cooperation Agreement
- 5 Habits That Separate Great Developers from Good Ones
- Best Personal Finance Habits for Long-Term Wealth
- Best Side Hustles You Can Start From Home in 2026
- Best Credit Cards for Beginners: Top 10 Picks for 2026
- Aadhaar System: How India's Digital Identity Infrastructure Has Evolved
- Best Credit Score Improvement Tips That Actually Work
- 5G Changed Everything: The Real Impact Three Years Later
Frequently Asked Questions
How long does it take to see results?
Results vary depending on individual circumstances and consistency. Most people see meaningful progress within 2-4 weeks of dedicated effort, with more significant changes appearing over 2-3 months. For more on this, see ASEAN Nations Strengthen Regional Cooperation Agreement.
Do I need prior experience to get started?
No prior experience is necessary. This guide is designed for beginners and experienced practitioners alike. Start with the fundamentals and build your skills progressively.


